Essential Clay Tools for Beginners: A Minimalist Starter Kit
Walk down the tool aisle of a ceramics supplier and you'll find two hundred objects that all seem essential. You don't need two hundred. You need about ten, and most of them are simple, inexpensive, and last for years. Everything else can wait until a specific problem shows up in your work — and by then you'll know exactly which tool solves it.
Here's a starter kit that covers both handbuilding and wheel throwing without duplicating anything or draining your budget.
If you buy everything at once, this is the whole purchase. Every other section of this article is a variation on it.
None of these are specialty items, and none of them need to be expensive. Buy them once, keep them clean, and they'll outlast your first three years of potting.
The single most important purchase is the clay itself, and it's the one beginners rush. Clay bodies differ in how they feel, how much grog (grit) they contain, and — critically — what temperature they're fired to. Buy one bag, make five pots, then commit to a larger box.
A smooth, mid-range stoneware is a forgiving default for beginners: it's strong enough to survive handling, takes glaze well, and doesn't tear your hands apart. Heavily grogged bodies hold shape beautifully for large handbuilt forms but feel rough and dry quickly on the wheel.
Before you buy anything, find out what your local studio, community center, or class fires to, and match your clay to that. A beautiful clay body that nobody nearby can fire is a shelf ornament. And if you're working with air-dry or polymer clay instead, note that it's a different craft with a much shorter tool list.
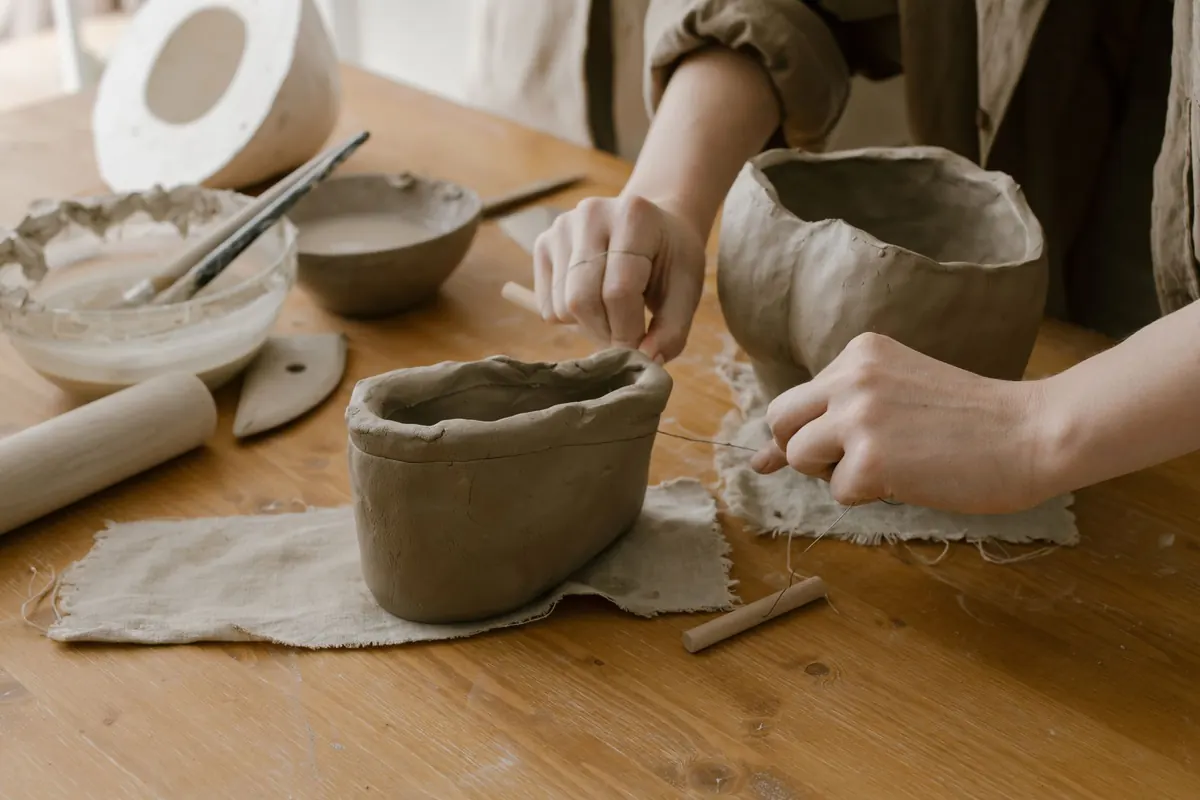
Most handbuilding happens with your hands. Tools assist; they don't do the work. Beyond the short list above, add:
Joining is where beginner pieces fail, so slow down: score both surfaces, add slip, press and wiggle the pieces together, then reinforce the seam with a coil of clay pressed into it. If you're building a form that will take several sessions, you'll want a damp box — a plastic bin with a wet towel inside — so your work stays leather-hard instead of bone-dry between sittings.
If you're learning on a studio wheel, the studio usually supplies bats, buckets, and sponges, so wait before duplicating them. Your own kit is mostly the short list, used differently: the cutoff wire, throwing sponge, wooden rib, needle tool, and trimming loop do nearly all the work. A chamois or a piece of soft leather is a nice addition for smoothing rims.
Buy plastic bats only after you know your wheel's bat pin spacing, because bats that won't pin down are useless. Hold off on calipers, throwing sticks, and profile gauges until you're making lids and taller forms — those tools exist to solve problems you haven't met yet.
Most importantly, don't buy a wheel as your first purchase. Rent studio time or take a class. A wheel is a serious commitment of space, money, and mess, and six months of practice will tell you whether it's the right one for you.
Plenty of tempting gear can wait indefinitely:
A rib you enjoy holding. A cutoff wire with handles that don't slip. Clay. A comfortable stool, if you're setting up at home — you'll spend hours on it, and a bad one shows up in your back and your throwing.
Buckets from a hardware store. Needle tools (a darning needle pushed into a wine cork works). Sponges, bought in a pack. A basic banding wheel. For most small tools, the inexpensive version performs identically to the premium one.
Start with the ten items. When you hit a problem you can't solve with them, buy the tool that solves it — that's the honest way most potters' collections grow, and it means every tool in your box has earned its place. If you can, take a class and use the studio's shared tool bin first; you'll learn what you actually reach for before you spend.
One last practical note: clay dust is a genuine respiratory irritant, so keep your work area damp, mop rather than sweep, wear a mask when handling dry clay or glaze powder, and clean up with a sponge while surfaces are still wet. If you're planning a home studio, check ventilation, kiln placement, and local requirements with your clay supplier or a certified studio before you commit — and talk to a professional if you have any health concerns about dust exposure.
Photo: cottonbro studio / Pexels
Previous Post
Matte vs Glossy Glazes: Appearance, Durability, and Food Safety Compared
Next Post
How to Clean and Maintain Clay Tools to Prevent Rust and Cracks