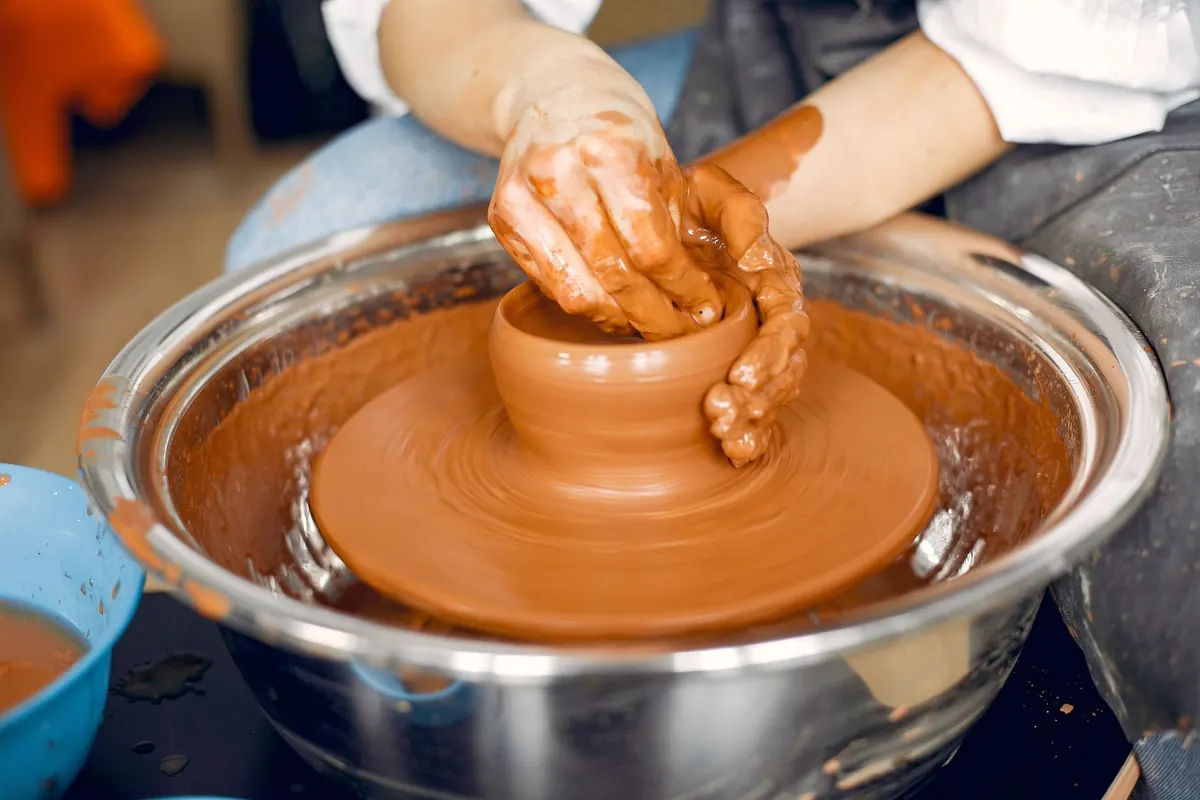
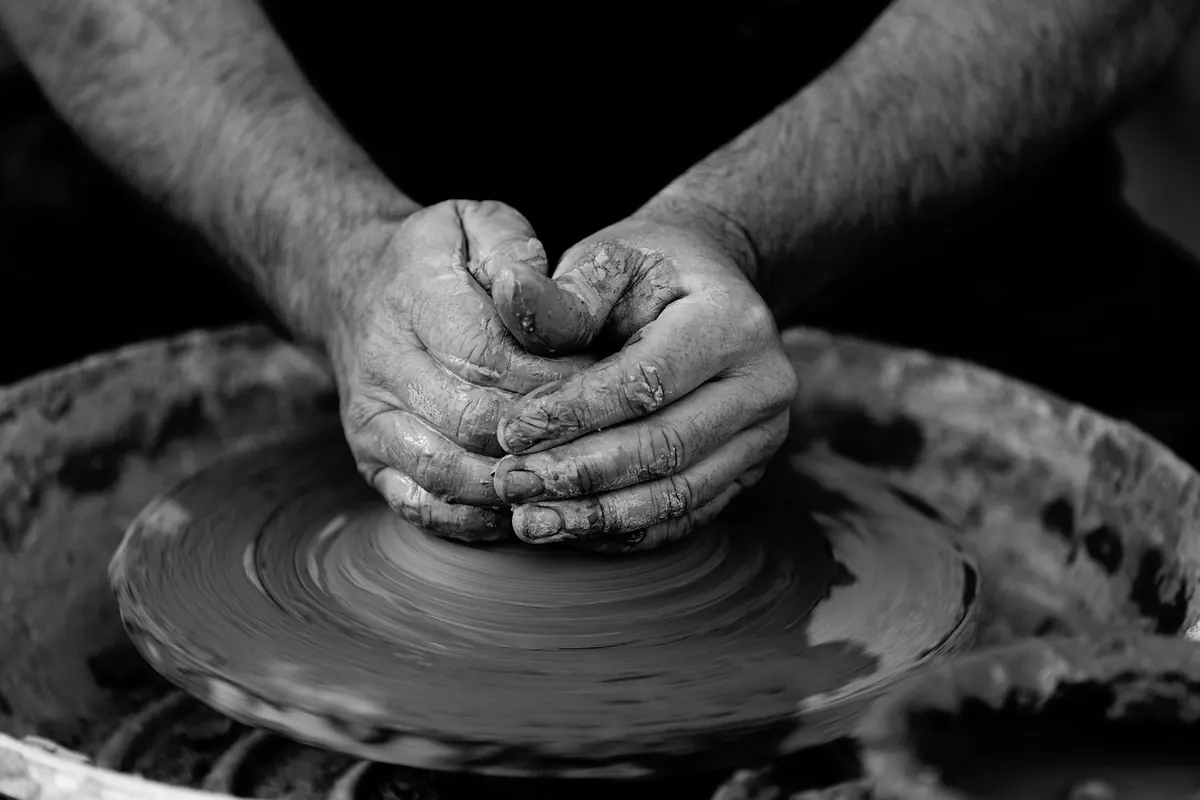
Handbuilding vs Wheel Throwing: Which Method Fits Your Studio Space?
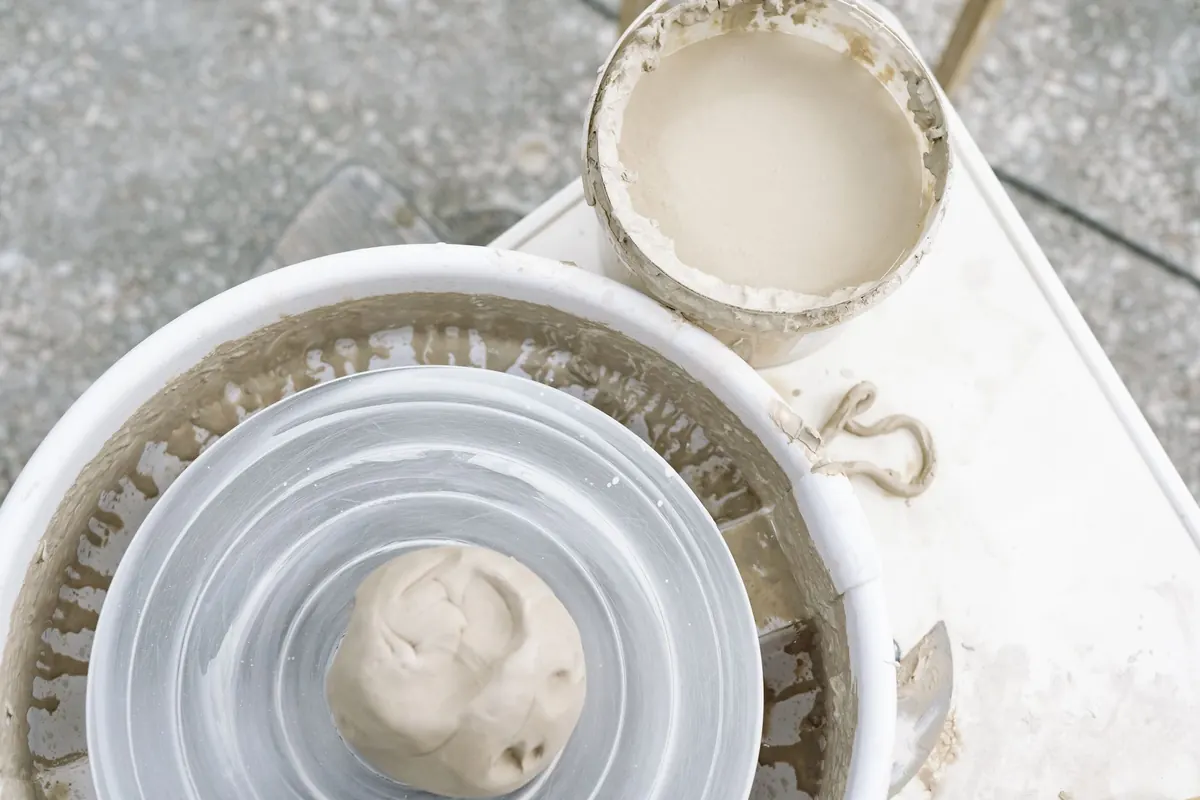
A wheel is mesmerizing to watch. A centred ball of clay rises into a cylinder in under a minute, and most beginners walk into a studio wanting to try it first. Handbuilding gets less attention, even though it is often the method that fits the room you actually have. The choice is not about talent. It comes down to square footage, water, storage, and how long a session you can realistically give. Here is how to think it through before you spend money.
Stand in your space and answer a few blunt questions. Where does the floor get wet? Can you turn around with clay on both hands without brushing a wall? Is there a window, and does it open? Where will greenware sit for two weeks while it dries?
Wheel throwing wants a corner you can leave set up. Handbuilding wants a table you can wipe down and a shelf to stack boards on. Those are different kinds of space, and knowing which you have settles half the decision.
The wheel itself is the smallest part of the footprint. Count the stool, the water bucket within arm's reach, the wedging surface, the bats stacked somewhere, the reclaim bucket, and the shelf where pots dry. Add a splash pan, a sponge, and a floor you do not mind mopping. A wheel corner is hard to share with anything else, which is why so many home potters set one up in a garage, basement or utility room and leave it there.
Centring is a physical skill, learned in the shoulders and wrists as much as in the head. Most people need many sessions before a cylinder stays put, and those sessions have to be long enough to matter: an hour at the wheel, not twenty minutes. If your only free time comes in short bursts, wheel progress can stall for weeks, and that is discouraging. Clay also has to arrive at the wheel consistent. You will wedge, or you will fight a wobble you cannot explain.
Pinch, coil, slab. A sturdy table, a board or bat to work on, and a way to keep pieces damp overnight. That is the core of it. A basic kit covers nearly everything:
Handbuilt work dries slowly and wants to be wrapped between sessions, which means a shelf full of plastic-covered pieces is the real storage cost. Slab building also needs a flat surface that stays flat. A thin board that has warped will bend your slabs, and you will not notice until the pot rocks on the table.
The two methods shape a session very differently.
Cleanup matters more than beginners expect. Clay should never go down a sink drain; it settles in the trap and sets hard. Wipe tools with a damp sponge, let buckets settle, pour off the clear water, and keep the solids for reclaim. Dry clay dust is the other thing to respect: mop or sponge surfaces rather than sweeping them dry, and keep the area ventilated. If you work with clay often and have existing breathing concerns, check your clay supplier's safety guidance and speak to a doctor.
Wheel throwing has a steep start and a rewarding middle. The first weeks feel like losing a wrestling match, then centring clicks and progress is obvious and measurable. Handbuilding is the reverse for many people: pinch pots and simple slabs succeed on day one, but the hard lessons arrive later, when you want thin, even walls, joins that do not crack, and large forms that survive the kiln. Compression, consistent thickness, scoring and slipping, and slow, patient drying decide whether a piece makes it through a firing.
Temperament matters here. If you like repetition, drills and a clear sense of improvement, buy wheel time. If you like planning, assembling and working on several pieces at once, handbuilding will hold your attention longer.
Pick one method for six months and equip for it properly. Keep a lidded reclaim bucket, plastic sheeting, a board, and a sponge within reach. Protect the floor with a mat or a sheet of plywood. Store clay off the ground and away from radiators. When you do buy a wheel, look for one with a splash pan and a floor you can mop around it.
If your space is a kitchen table and a cupboard, handbuilding gets you making tonight with almost no investment. If you have a corner with a utility sink, a door that closes and a floor you can clean, the wheel is worth the mess. Most potters end up doing both, using the wheel for round forms and handbuilding for handles, lids, slabs and anything the wheel refuses to make. Start where the room lets you start, and make something this week.
Photo: Yan Krukau / Pexels
Previous Post
How to Center Clay on the Wheel: A Step-by-Step Guide for Beginners
Next Post
Kiln Loading Checklist: 12 Steps Before You Close the Lid